Make all the socks you want to from the pattern, but please link to this page for the pattern itself, don't copy it anywhere else. If something doesn't sound right, let me know and I'll try to clarify.
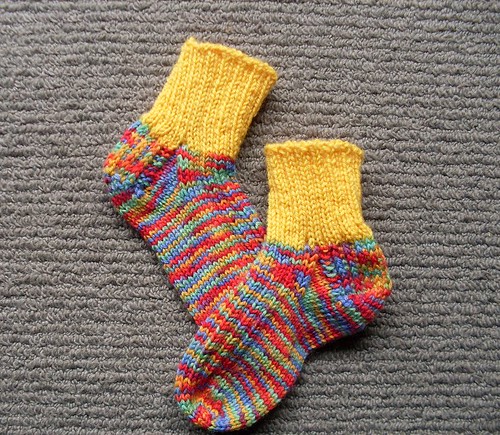
ToddlerSox
You will need:
3mm circular needles
Small amounts of contrasting fingering weight yarn, or do them all in one colour if that suits you better.
A tapestry needle for sewing in ends.
Cuff:
Using the long-tail method, cast on 42 sts over both needles (makes for a super-stretchy, yet tidy cast on) and divide over both needles evenly, 21 sts per needle. Making sure the stitches aren't twisted, join for working in the round.
20 rows of K2, P1 rib will give you about a 2 inch cuff. I wouldn't do any less, but feel free to make it longer if you prefer.
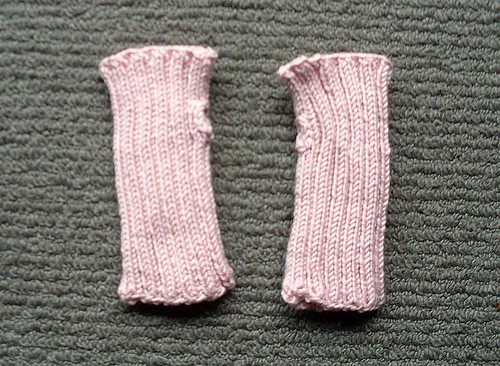
Cut your first yarn, and join your contrasting for the heel flap/foot. For the heel flap you'll be working backwards and forwards over the 21 sts on one needle.
Heel Flap:
Row 1: K1tbl, k2, p16, k2, sl1 with yarn held in front.
Row 2: K1tbl, k2, *sl1, k1* rep from * to * to last 3 sts, k2, sl1 with yarn held in front.
Repeat these last 2 rows for a total of 1 1/4 inches ending with a purl row.
Heel turn:
Row 1: Sl1, k11, ssk, k1, turn
Row 2: Sl1, p5, p2tog, p1, turn
Row 3: Sl1, k to last st before gap created by prev ssk, ssk, k1, turn
Row 4: Sl, p to last st before gap created by prev p2tog, p2tog, p1, turn
Repeat these 2 rows, working one more stitch each time until all heel sts are worked. You should finish on a purl row.
Gusset stitches:
Knit across heel flap sts, and along the side of the heel flap you will see a series of larger loops caused by the slipped sts at the end of each heel flap row. Pick up and knit these sts, and then make another 1 or 2 sts at the foot end of the heel flap side just to close up any gaps that might have been.
Rib across the instep sts, then make 1 or 2 sts at the top of the heel flap before picking up the slipped sts across the other side of the heel flap. I deliberately haven't given you a specific number to pick up, as long as you have 1 st in each slipped st and one or two to close the gap, and both sides are within a stitch count of each other, you'll be fine.
For the next few rounds, you will rib across the instep sts in the established rib pattern, and knit across your gusset, k1, ssk, k to last 3 sts, k2tog, k1. You will be decreasing your gusset stitch count by 2 sts per round.
Foot:
When your gusset needle st count has returned to 21, and you again have a total st count of 42, rib across the top of the foot and knit the gusset sts until the foot is 4 1/2 inches (or 1/2 inch less than total required foot length).
Toe:
Top needle: K1, ssk, k to last 3 sts, k2tog, k1.
Repeat for bottom needle.
Decrease 4 sts per round until you have a total of 20 sts (10 per needle), then graft the toe sts together using kitchener stitch. Work in your ends, and start the other one. The great thing about socks for tots and babies is that they work up so quickly that you barely get time to succumb to SSS (Second Sock Syndrome).
Until next time...