Sapphire & Steel Fingerless Mitts
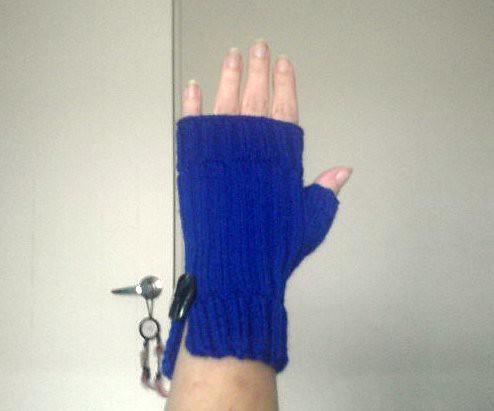
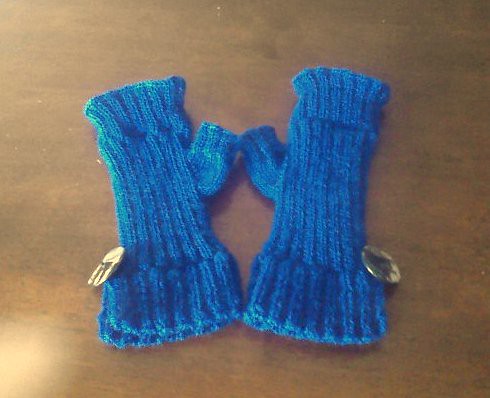 More hideous cellphone camera pics. And they look so much better on than sitting on the table! They do look very small when they're not on, but I've even made The Man try them on and they seem to stretch forever.
Ok the pattern...
You will need:
Approx 40gm of fingering weight yarn
2.5mm circular needles
3.25mm circular needles
2 buttons approx 1" diameter for accent.
Using 3.25mm needles, cast on 64sts. Make sure it's a stretchy cast on - I used long tail cast on over both needles together (as I always do). Do not join for working in the round yet, but knit in K2, P2 rib for 1.5".
Change to 2.5mm needles, join for working in the round, and knit 2 rounds plain.
Now, as with the cowl, you'll be working the opposite rib, so it'll be P2, K2 rib for 2".
Work another 32 sts, which will take you to the middle of the round. This is your new starting point, and it will remain this way for the rest of the mitt. This will make sure that the button is on the outside of your wrist.
Next round - K1, Kfb, PM. Continue in rib until last st of round, PM, kfb, k1.
Next round - K2, kfb, PM. Continue in rib until last 2 sts of round, PM, kfb, k1.
Continue increasing 2 sts per round in this manner until you have 14 sts before the first marker and 14 sts after the 2nd marker. Now the explaining gets tricky. You'll need to place 26 of those sts onto waste yarn, which will mean knitting all of the new sts so you can do so. Continue in P2, K2 rib on the remaining hand sts for a further 1".
Knit 2 rounds plain, then change your rib back to K2, P2 rib and knit for another 1.5" Cast off knitwise (make sure your cast off is not too tight).
Ok, back to the thumb. You'll need to get those 26 sts back on to the circular needle (yep, still the 2.5mm), 13 sts on each needle. Pick up 2 sts from between the thumb gusset and the body of the mitt and knit one round. K2, P2 rib for a further .75", then cast off thumb sts (again, cast off knitwise and keep it loose).
Work in ends, and sew button at the top of the flat rib section. Do it all over again.
If anything in this doesn't make sense or is confusing, let me know and I'll try to make it clearer.


4 comments:
I'm really looking forward to making these mitts and the matching cowl. Hugs from serendipty in LSG
Thanks Serendipity Sharon! I got me some warm fuzzies now!
hehe, ive worn these! im so cool
Nope, you're only half cool cos you only got to try one on! ;-p
Post a Comment